Tips for a tip-top tile finish
So, your search is complete, you know what tiles you want and the rooms you’re about to tackle. But now comes the dreaded part: installation. From calculating how many tiles you need, through to dealing with the repeat pattern factor and understanding how to cut tiles, it can all feel a bit daunting.
Here, we walk you through what every novice DIYer needs to think about for the smoothest of stress-free tile installations.
Skip through the sections below to quickly find the answers you need to achieve a tip-top tile finish:
How to Plan your tile layout
Before starting any DIY tiling project, you need to work out how many tiles you need. This will help you determine how long the tile installation will take, while also giving you a better idea of what the tiles will look like in the room they are being installed in.
To calculate this, divide the total wall or floor area you want to cover, by the size of individual tiles you want to install. Always remember to add on 10% extra, in the event of breakages.
To make life easier for you, when you buy tiles from our Factory Outlet online, we have a tile calculator set up, so you can simply input the number of sqm you need to cover and we will calculate how many of the selected tiles are needed for you!
How to align tiles
The next crucial part of the installation process is making sure your tiles all align perfectly, so that your pattern is spot on. Here are a few simple steps to do this:
Before you start, make sure you have the following materials: tile spacers, tiles, grout, a grout spreader, a pencil, measuring tape.
- Make sure that the first tile being laid is in the corner - this way all tiles will line up nicely.
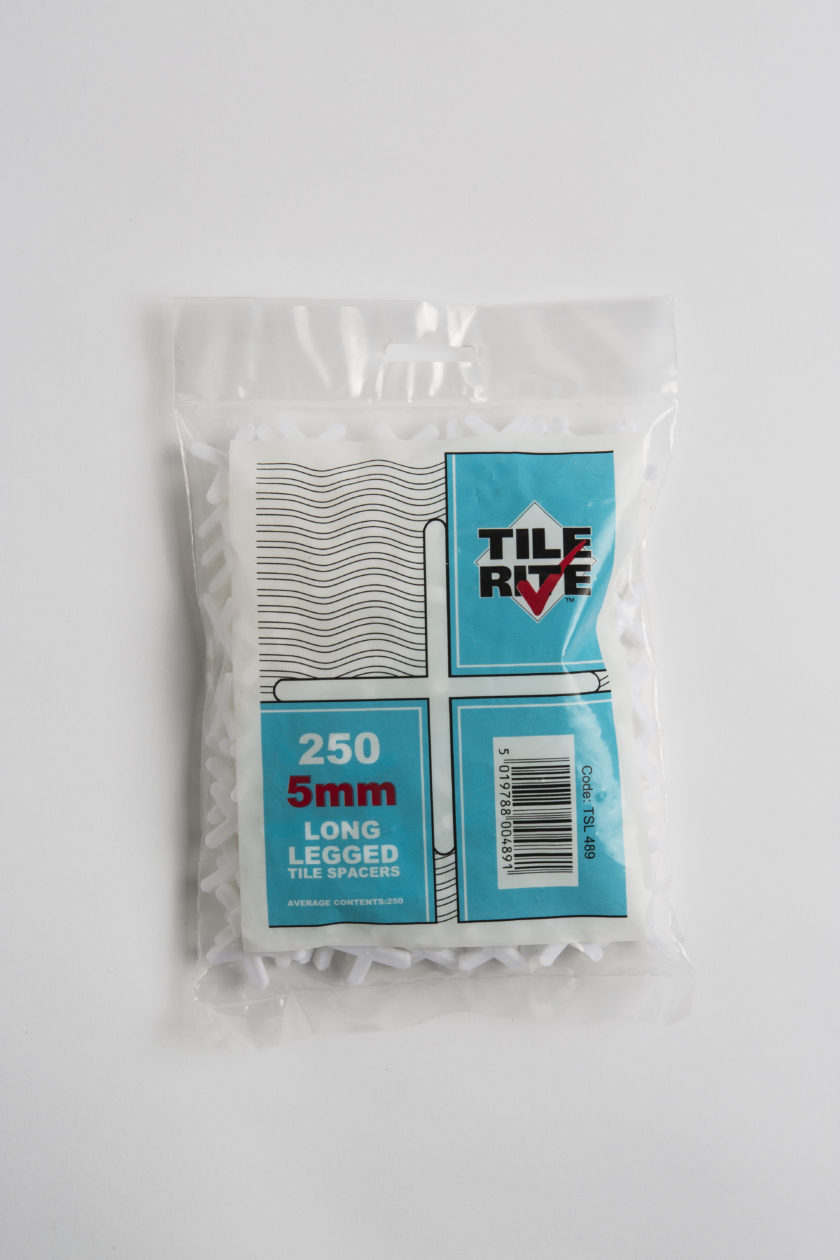
- Put tile spacers into the corners between the tiles to make sure you have the right distance (usually 2-3mm) between the tiles - ready for the grout-over later.
- To ensure a symmetrical finish on each side of the wall, cut a wooden batten just longer than half of the total area you want to cover. This will act as a gauge, and allow you to mark (in pencil) the length of each tile.
- Place the tiles along its length, including spacers, and mark onto the gauge.
- Find the horizontal mid-point of the area and mark with pencil.
- Align one of your gauge’s marks with this point, then shuffle it to the left, until the end of the gauge is close to the corner. If the gap between the end of the gauge and the wall is more than half a tile’s width, then this will be the perfect place to start your tiling. However, if this is less than half a tile, move your central tile’s gage mark to the right by the width of exactly half a tile. This will present a neater installation.
- Use your tile gauge, to work out exactly how high off the floor your first tile will come.
- Use a spirit level to mark a straight line across the wall or floor.

Spacers of various sizes are available on the Johnson Tiles Outlet website
How to cut tiles
Always allow room for a similar size of cut tile at each end of the wall or floor you are tiling, as it’s highly unlikely that whole tiles will cover the area to the exact measurements. Avoid small, narrow tile corners, due to cutting difficulty. The larger the cut is to a full tile, the nicer it will look.
SAFETY TIP: When cutting tiles, always remember to wear protective gloves and safety glasses/goggles, as tile shards could fly during the cutting process.
The easiest cutting method is to use a tile scribe, and to mark a line across the area that needs cutting by using a pencil or felt-tip. Scrape along this line using the tile scribe and metal ruler. Then, resting the tile on a worktop, apply downward pressure on the side, allowing for a quick, clean, snap of the tile. Once you’ve used the adhesive and applied your tiles using spacers, it’s now time to grout the tiles.
How to grout tiles
There are lots of colour options to choose from when it comes to grouting. These typically come in white, grey, beige, charcoal and black. We recommend choosing a colour that complements your tile scheme. Colour choices aside, there are two main types of grout: ready mixed and powdered. If using powder grout, only prepare as much as you are likely to use in 30 minutes, as it dries quite quickly. You can find grout and other tiling accessories here.
Here are three simple steps to grouting:
- Place a small amount onto the tiles with a grout spreader and, using upward and diagonal strokes, work it into the gaps between the tiles. Remember not to take too much time doing this though as grout hardens quite quickly!
- Once grouted, wipe over your tiles with a damp sponge to remove any excess grout. As soon as you’ve done this, use a grout finishing tool to run over the grout joints in an even, continuous movement.
- As the grout is drying, use a soft cloth to polish over your walls then step back and appreciate your masterpiece!
Good luck, and if you need any more tips before getting started, see the rest of our handy blogs here.
Already thinking about your next project? Our Factory Outlet is home to eco-leading, British manufactured, premium tile collections. Browse our selection here.

